To install the PrizmDoc Viewing Client using a Accusoft-hosted PrizmDoc Server, follow these steps:
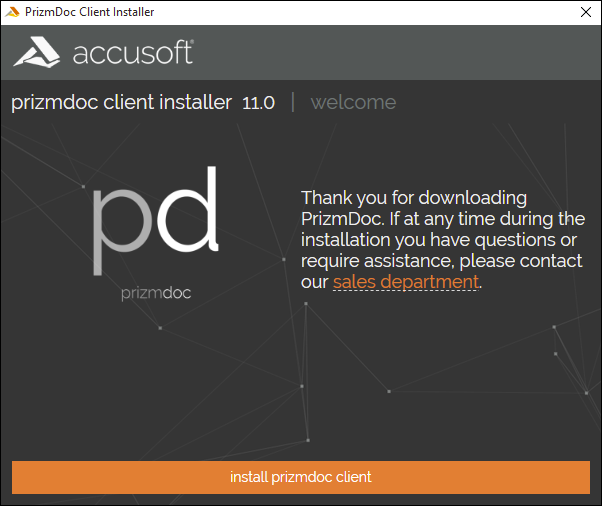
- Start the installer from any location on your system. Click Install PrizmDoc Client to continue:
- Carefully read the information contained in the License Agreement form before making a decision to accept the terms of the agreement. Choose I accept the terms in the License Agreement to accept the conditions outlined in the License Agreement and then click Next to continue the installation (or click Cancel to exit the installation process):

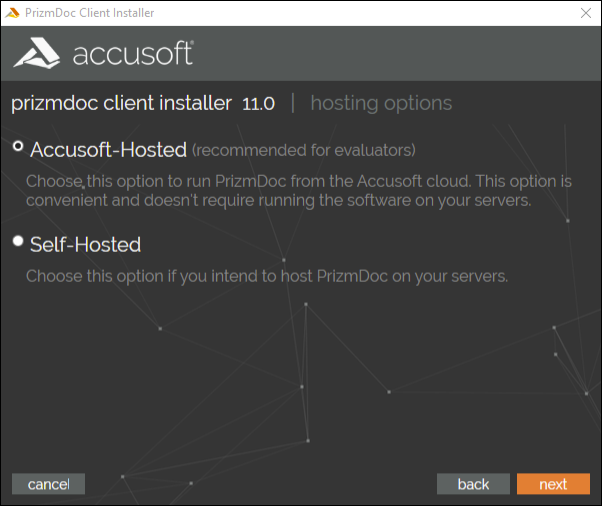
- You have two PrizmDoc Server hosting options when installing the PrizmDoc Viewing Client; they are Accusoft-Hosted and Self-Hosted. For this tutorial, we are installing using an Accusoft-Hosted cloud server. This option is highly recommended for evaluators of PrizmDoc as it does not require running the PrizmDoc Server software on your server. The Accusoft-Hosted option is selected by default. Click Next to continue the installation:
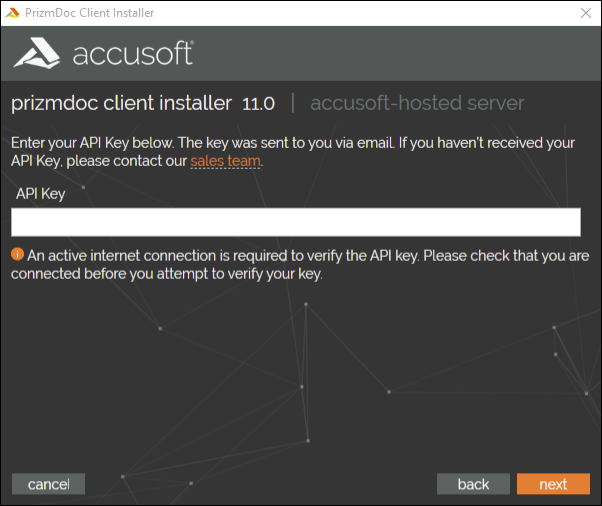
- You will need to enter your PrizmDoc API key to connect to the Accusoft-hosted PrizmDoc Server. This key will have been emailed to you as part of the registration process for downloading the installer. For more information on your PrizmDoc API key, refer to the topic, How to Get an Evaluation License.
 |
You will need an active internet connection on the machine you are installing the PrizmDoc Viewing Client in order to validate your API key. |
Enter your API key into the text field provided. Click Next to verify your API key and continue the installation:
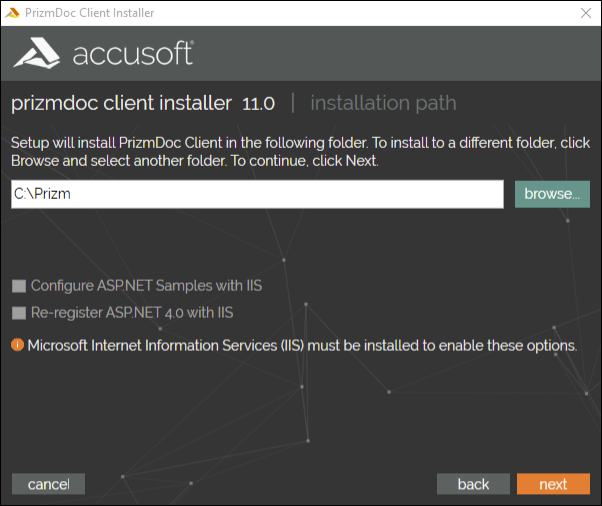
- The Installation Path dialog is displayed. Specify the destination directory where the PrizmDoc Viewing Client should be installed, or choose the default installation destination directory.
If Microsoft Internet Information Services (IIS) is installed on your machine, you can also select how the installer will update IIS to run PrizmDoc:
- Configure Samples - Deselect the first option if you do not want the installer to configure the samples on this system.
- Re-register ASP.NET - The second option allows you to register ASP.NET 4.0 with IIS. The PrizmDoc Samples require ASP.NET 4.0 to function. If ASP.NET is already configured, this will not undo any current configurations.
If IIS is not installed, these options will be disabled. Select the options you would like, then click Next:
- Once you have made your selections, click Next to move forward with the installation. The Account Information dialog is displayed:
|
During installation, when specifying a login account for PrizmDoc Application Services, you MUST choose a user which has administrative privileges. Otherwise, the installation will fail. |
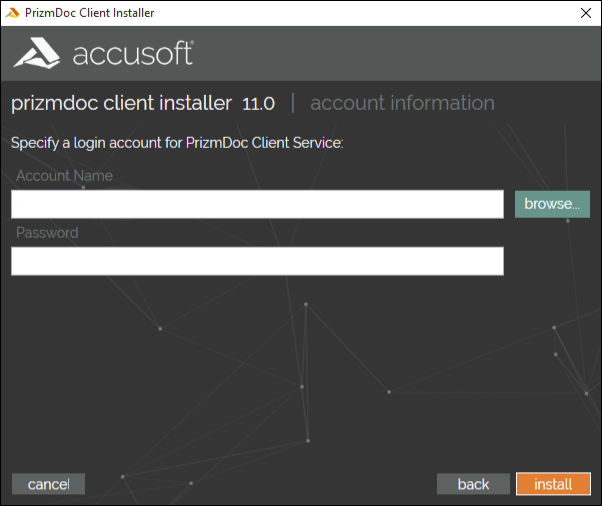
The next step in the installation process allows you to define the account that will be used to run the PrizmDoc Application Services that is installed on the system. The Account Information dialog will default to the user running the installation, but you can enter a user name or use the Browse button to select a user from the local system or domain. Once a user has been selected, enter the password for the user account into the dialog.
- Once you have entered in all of the appropriate information, click Install to continue. (If the password is not correct an error dialog will be displayed noting that the password is not correct.) The Installation dialog is displayed with a progress bar:
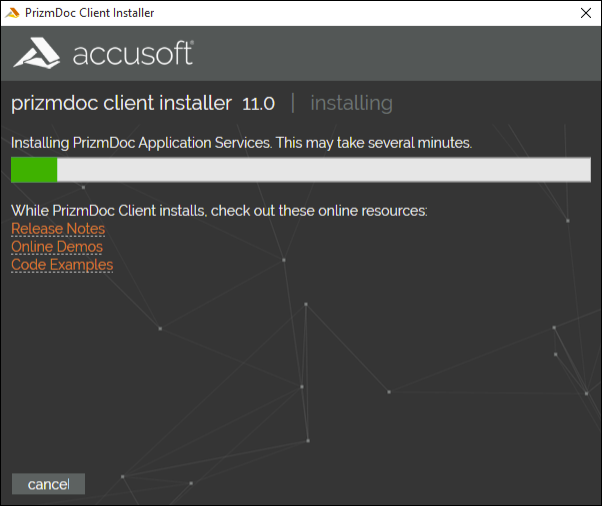
The Installer will unpack the product, and lay out and configure the product as defined in the configuration dialogs. While PrizmDoc is installing, you can look at the Release Notes, Online Demos, or Code Examples from the links provided.
- Once the installation is complete, the Installation Complete dialog is displayed:

There will be an option to launch the Documentation and product Release Notes if you wish to view them directly after the installation. Click Finish to exit the Installer.